 986.888.3992
 Track Your Order


Soil quality is a crucial factor in determining the success of your garden. It affects the availability of nutrients to your plants and plays a vital role in their overall health and growth. But how do you know if your soil is up to par? That's where soil testing comes in!
Why Soil Testing Matters
Soil testing is the process of analyzing the composition and characteristics of your soil. It provides valuable insights into the pH level, nutrient content, and overall health of your soil. By understanding these factors, you can make informed decisions about fertilization, amendment, and plant selection. Soil testing helps you create the optimal environment for your plants to thrive and ensures that you're not wasting time and resources on unnecessary treatments.
Which Elements to Test
Soil pH
Soil pH refers to the acidity or alkalinity of your soil. It is measured on a scale of 0 to 14, with 7 being neutral. Values below 7 indicate acidic soil, while values above 7 indicate alkaline soil. Most plants prefer slightly acidic to neutral soil, with a pH range of 5.5 to 7.5. Testing your soil's pH level will help you determine if any adjustments are necessary to create the ideal growing conditions for your plants.
Nutrient Content
The availability of essential nutrients is critical for plant growth and development. Soil testing can assess the levels of key nutrients such as nitrogen, phosphorus, and potassium, as well as secondary and micronutrients. Understanding the nutrient content of your soil allows you to make informed decisions about fertilization and ensures that your plants have access to the necessary elements for optimal growth.
Soil Texture
Soil texture refers to the relative proportions of sand, silt, and clay particles in your soil. It plays a crucial role in determining soil structure, drainage, and water holding capacity. Sandy soils have larger particles, resulting in excellent drainage but low water and nutrient retention. Clay soils, on the other hand, have smaller particles, leading to poor drainage but high water and nutrient retention. Loam, a balanced soil texture with a mixture of sand, silt, and clay, is considered ideal for gardening. Understanding your soil's texture helps you make appropriate amendments and irrigation decisions.
How Often to Test Your Soil
To maintain optimal soil health and fertility, it is recommended to test your soil every 3 to 5 years. However, certain factors may warrant more frequent testing. If you have recently made significant amendments to your soil, such as adding compost or fertilizers, it is advisable to test sooner to assess the impact of these changes. Additionally, if you notice persistent plant nutrient deficiencies or pH-related issues, more frequent testing can help you identify and address the underlying problems.
Four Methods to Test Your Soil
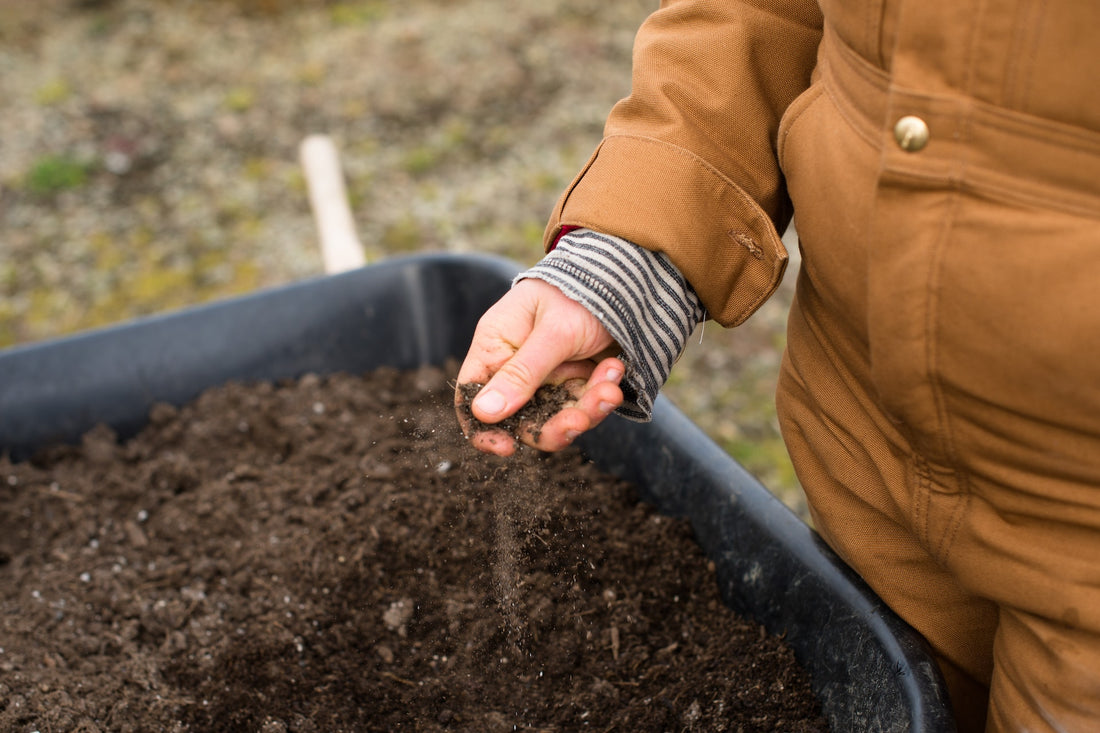
Hand Test
The hand test is a quick and easy way to assess your soil's composition and texture. Follow these steps to perform the hand test:
- Take a handful of moist soil from your garden.
- Observe the texture and feel of the soil. Is it gritty (indicating sandy soil), smooth (indicating silt), or a combination of both (indicating loam)?
- Squeeze the soil to form a ball in your hand. How well does it hold together? Sandy soil will crumble easily, while clay soil will hold its shape.
- Gently press the soil ball between your thumb and forefinger to form a ribbon. Measure the length of the ribbon. This will give you an indication of your soil's texture and composition.
Jar Test
The jar test allows you to assess your soil's texture and composition by separating the particles based on size. Here's how to perform the jar test:
- Collect a soil sample from your garden, ensuring it is free from debris and organic matter.
- Fill a clear jar two-thirds full with water.
- Add the soil sample to the jar, filling it nearly to the top.
- Secure the lid tightly and shake the jar vigorously for a few minutes to allow the soil particles to separate.
- Set the jar aside and let it sit undisturbed for a few hours or overnight.
- As the soil particles settle, they will form distinct layers in the jar. The bottom layer represents sand, the middle layer represents silt, and the top layer represents clay.
- Measure the height of each layer to determine the relative proportions of sand, silt, and clay in your soil.
To figure out the ratio of sand, silt, and clay in your soil, add up the percentages so they equal 100. The best soil is a combination of 20 percent clay, 40 percent silt, and 40 percent sand. This will help you decide what to grow:
If your soil has a lot of sand, it will drain quickly. On the other hand, silt and clay take longer to get wet and retain water, so it's ideal for plants that prefer wet conditions. Consider the soil and pick the right plants, or add amendments as needed.
In the case of sandy soil, one could enrich it with humus, aged manure, peat moss, sawdust, or even nitrogen-rich materials. Additionally, adding clay-rich soil may also be beneficial.
For silty soil, consider combining coarse sand (not beach sand), compost, well-rotted horse manure, and some fresh straw.
When dealing with clay soil, the best course of action is to mix in coarse sand (not beach sand), compost, and peat moss.
Plant Indicator Test
Observing the types of plants that naturally thrive in your garden can provide valuable clues about your soil's health and composition. Different plants have specific soil preferences and will only grow well under favorable conditions.
Certain plants have specific soil preferences and will only grow well under favorable conditions. For example, if you notice an abundance of dandelions or dock in your garden, it could indicate compacted soil or low fertility. On the other hand, the presence of vetch or clover suggests nitrogen-deficient soil.
Take note of the weeds and wildflowers that appear in your garden and research their soil preferences. By paying attention to these natural indicators, you can tailor your soil management strategies accordingly.
Home Test Kits
These kits provide lots more information than the simple DIY methods listed above. A lab analysis show nitrogen, phosphorous, potassium and other mineral percentages so you know exactly which ones need improvement. They will also provide the pH level for you, and usually some advice on how to fix any issues.
Test kits can be found at gardening centers; however, they don't provide the same level of accuracy and detail as professional testing done through your county's extension office. Fortunately, these tests are usually free or low cost. A list of cooperative extension services by state can be found online.
Interpreting Soil Test Results
Once you have conducted your soil tests, it's time to interpret the results. Soil test reports typically provide recommendations for amendments based on your soil's specific characteristics. These recommendations may include pH adjustments, nutrient supplementation, and soil texture modifications. It's important to follow these recommendations closely to create the optimal growing conditions for your plants. If you're unsure about how to interpret the results or implement the recommended amendments, consult with a local extension office or a gardening professional for guidance.