 986.888.3992
 Track Your Order


Kale is a superfood for health, but did you know it's a superstar in the garden, as well? Kale is extremely resilient, easy to grow, and produces for months, so you always have a fresh supply on hand for salads, soups, and sandwiches.
Kale is a cool-season crop. It can be planted outdoors at the start of the season and is ready to harvest in 4-6 weeks. If you love kale and are looking for an easy, long-lasting green to grow in your garden, this is the one! Kale is easily grown in containers, raised beds, and traditional gardens.
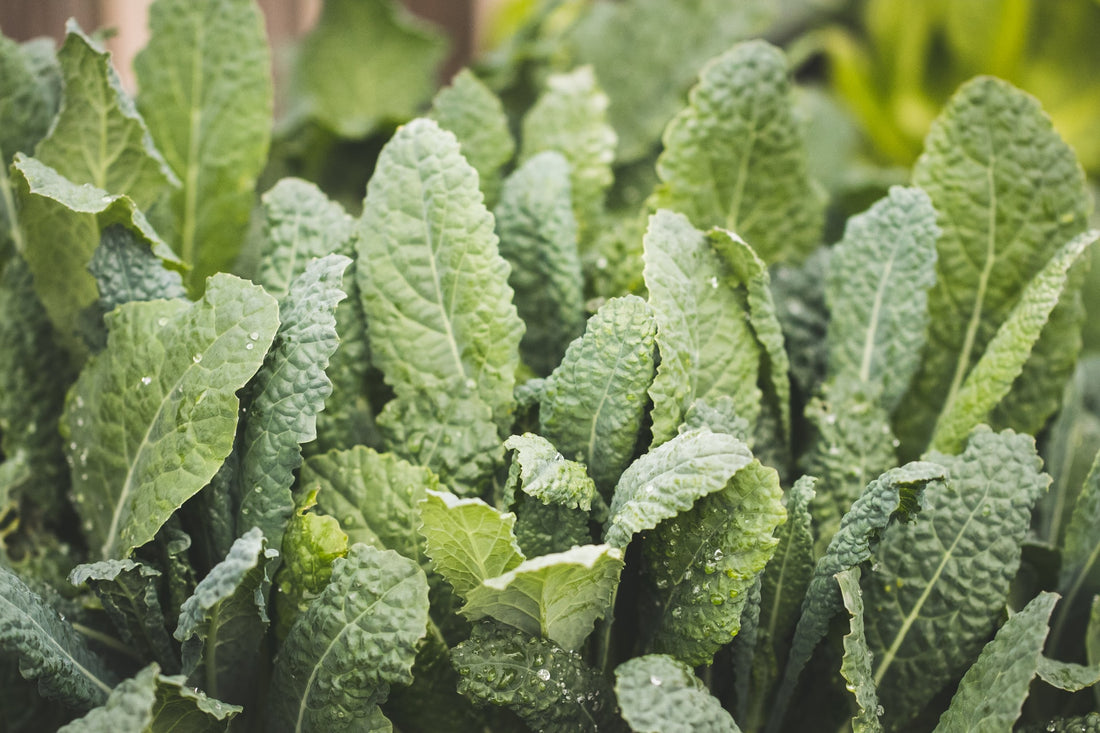
Curly kale is the most common variety found in grocery stores, but there are dozens of other types. Red Russian kale has red stems with intricate, tender green leaves. Siberian kale grows giant green leaves and is exceptionally cold-hardy. The Dinosaur kale lives up to its name, with very large bumpy blue-green leaves. One of our favorites, Forage Premier kale, is almost stemless, meaning more leaf for eating. Its rich, green leaves are large and abundant.
How To Grow Kale, Step by Step
- Six weeks before the last frost, start kale seeds indoors. Because kale prefers cool weather, it is essential to get the plants to maturity before the heat of summer sets in.
- It is okay to plant kale directly in the garden, but this may delay the growth, and it will mature in the summer heat. Unfortunately, kale gets bitter and woody when exposed to too much heat. If you live in a particularly warm region, plant your kale in a partially shaded area. It still needs sunlight, but it will appreciate not getting the sun's full intensity all day long.
- Choose a high-quality seed-starting potting soil mix and small seed pots with drainage holes.
- Fill the containers with soil and wet them thoroughly before planting.
- Press 1-2 seeds into each container, and cover them with 1/2” of damp soil.
- Place the containers in a warm location, making sure the soil temperature is above 50F.
- Mist the soil every day with water.
- The plants are ready to be transplanted outdoors when they reach 3-4” tall and have at least 4 true leaves.
- Harden off the plants before transplanting. Take them outside for one hour the first day, increasing it by an hour each day until, by the end of a week, they are outdoors the majority of the day.
- Transplant the kale seedlings in a location with full or partial sun. Space them 12-15” apart in rows 24” apart.
- Mulch around the plants to reduce moisture evaporation and to keep weeds from sprouting up.
- Kale plants need approximately 1-1.5 inches of water per week.
- The kale leaves are ready for harvest when they are about the size of your hand. Cut off the individual leaves, as needed, starting with the larger outermost ones. Continue to harvest, working your way towards the center and picking the leaves up the stalk.
- Don't neglect the plants! The more you pick, the more that will grow. Harvest at least 1-2 times per week, if possible.
- Kale starts to wilt in the summer heat. The leaves won't taste as good, but you can leave the plants sitting until fall or pull them up and plant something else there.
- In the late summer, start another round of kale to be harvested in the fall and winter. Kale isn't bothered by frost, so let it keep growing as long as it keeps producing.
I think you'll be pleasantly surprised at the remarkable taste of fresh kale. As with all vegetables, it is so much better than store-bought. Even though they look the same, the fresh-picked is always more tender, juicy, and flavorful.